
Coming soon for macOS, iOS & Android
MIDI 2.0 Controller
Build a tactile, personalised MIDI 2.0 control surface and send it wirelessly to compatible destinations. Create a layout for the way you play, then switch from editing to performance in one tap.
Download links
Choose your edition
MIDI 2.0 Controller
Create control surfaces across a flexible 3 × 3 grid, with pages for organising more than one layout.
Free version
Try the workflow with one control element—ideal for a simple dedicated button, knob, or fader.
Made for your hands and your rig
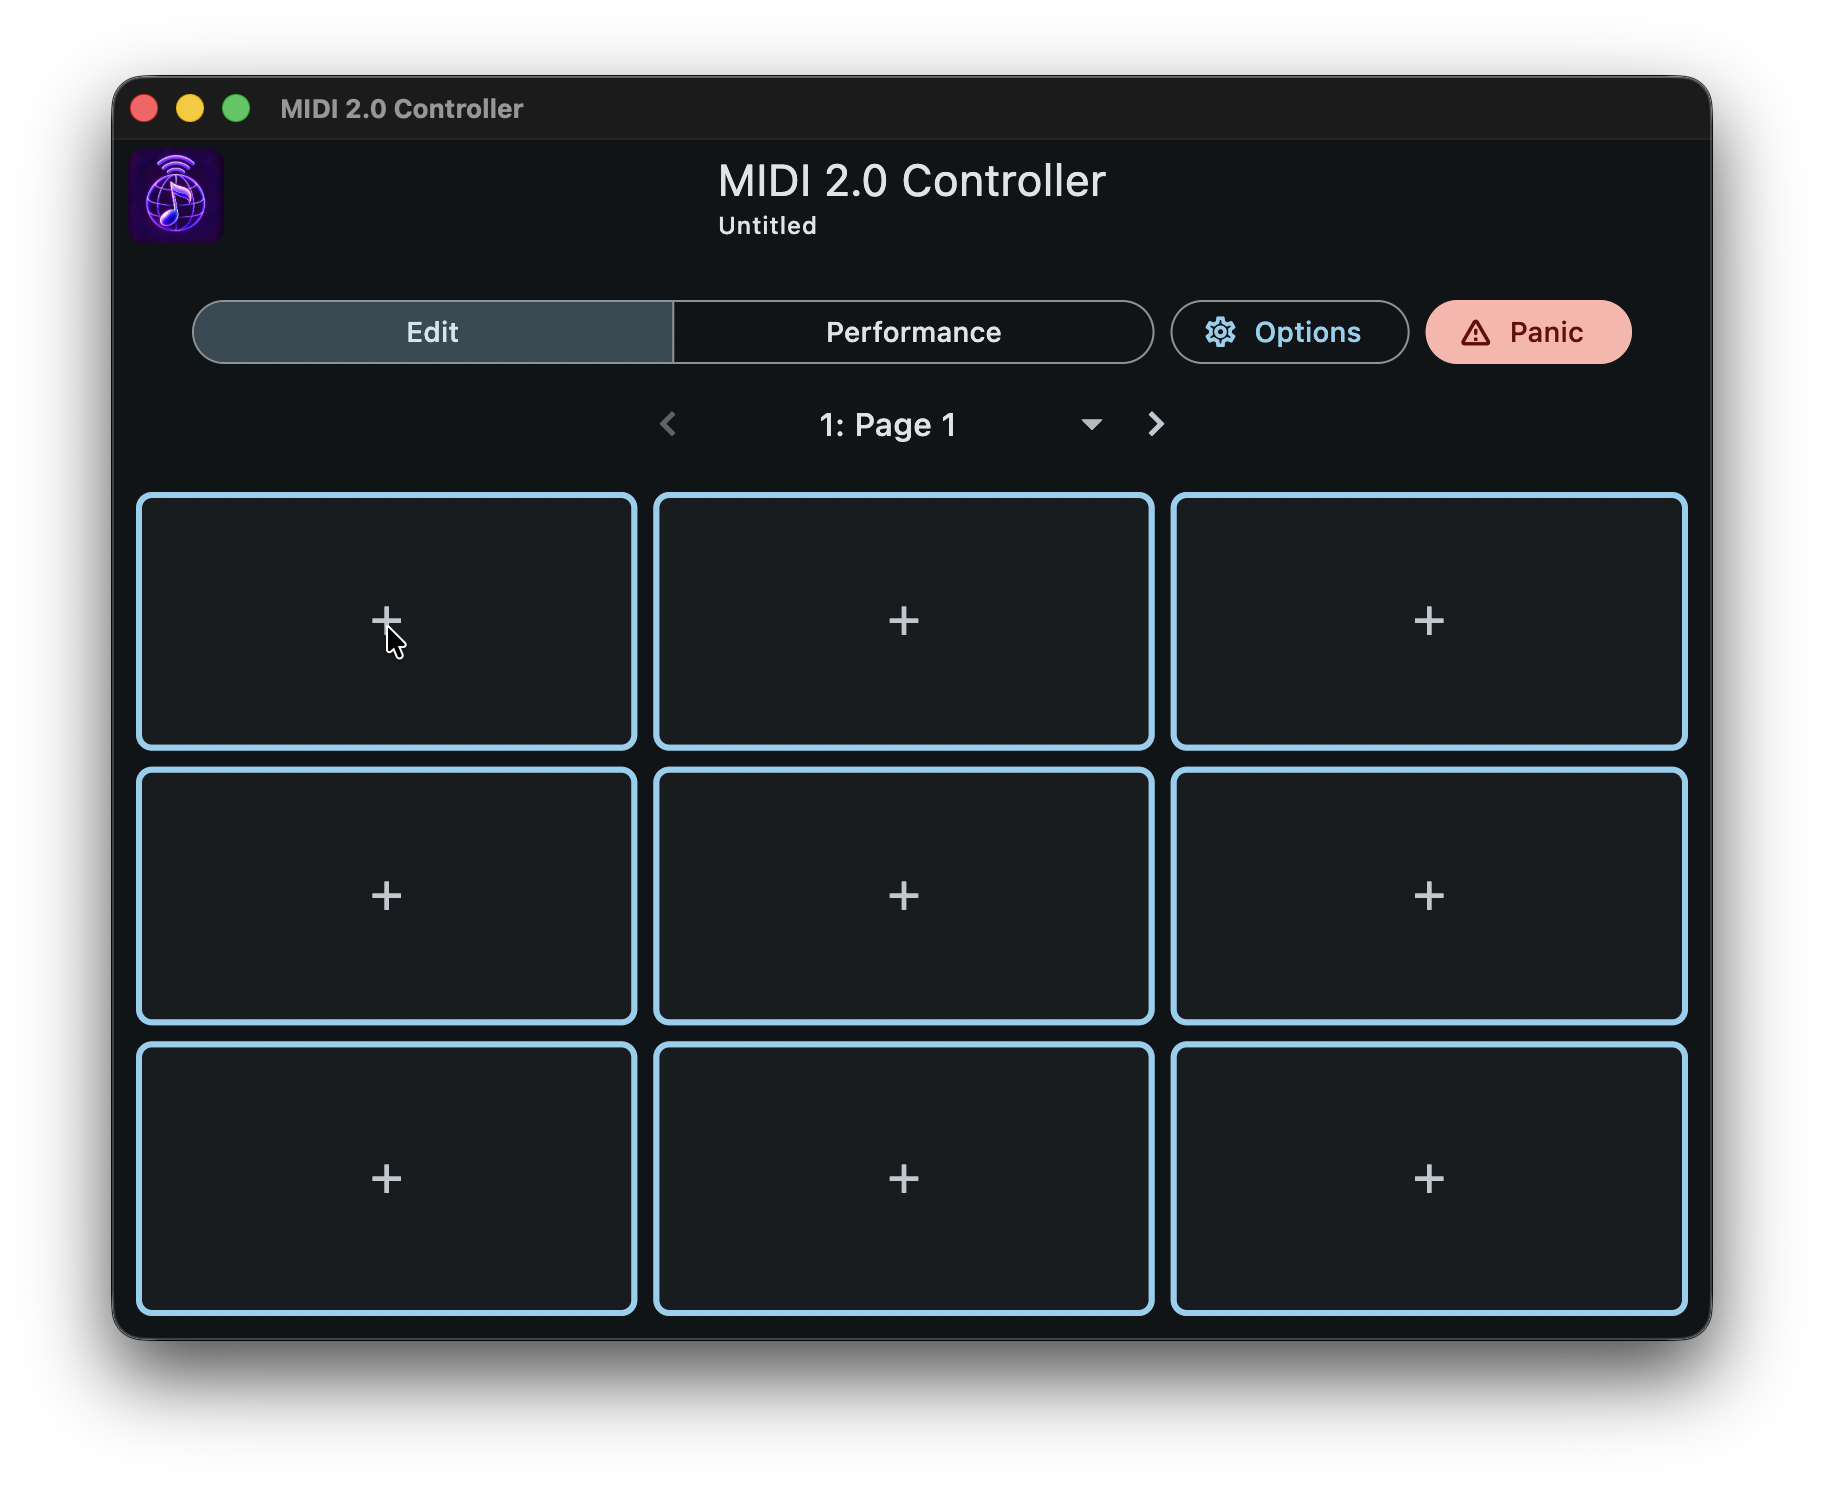
MIDI 2.0 Controller starts as a clean 3 × 3 canvas. Add only the controls you need, arrange them into pages, and give each one a name and colour that makes sense at a glance. The result can be as simple as one control or as focused as a complete performance surface.
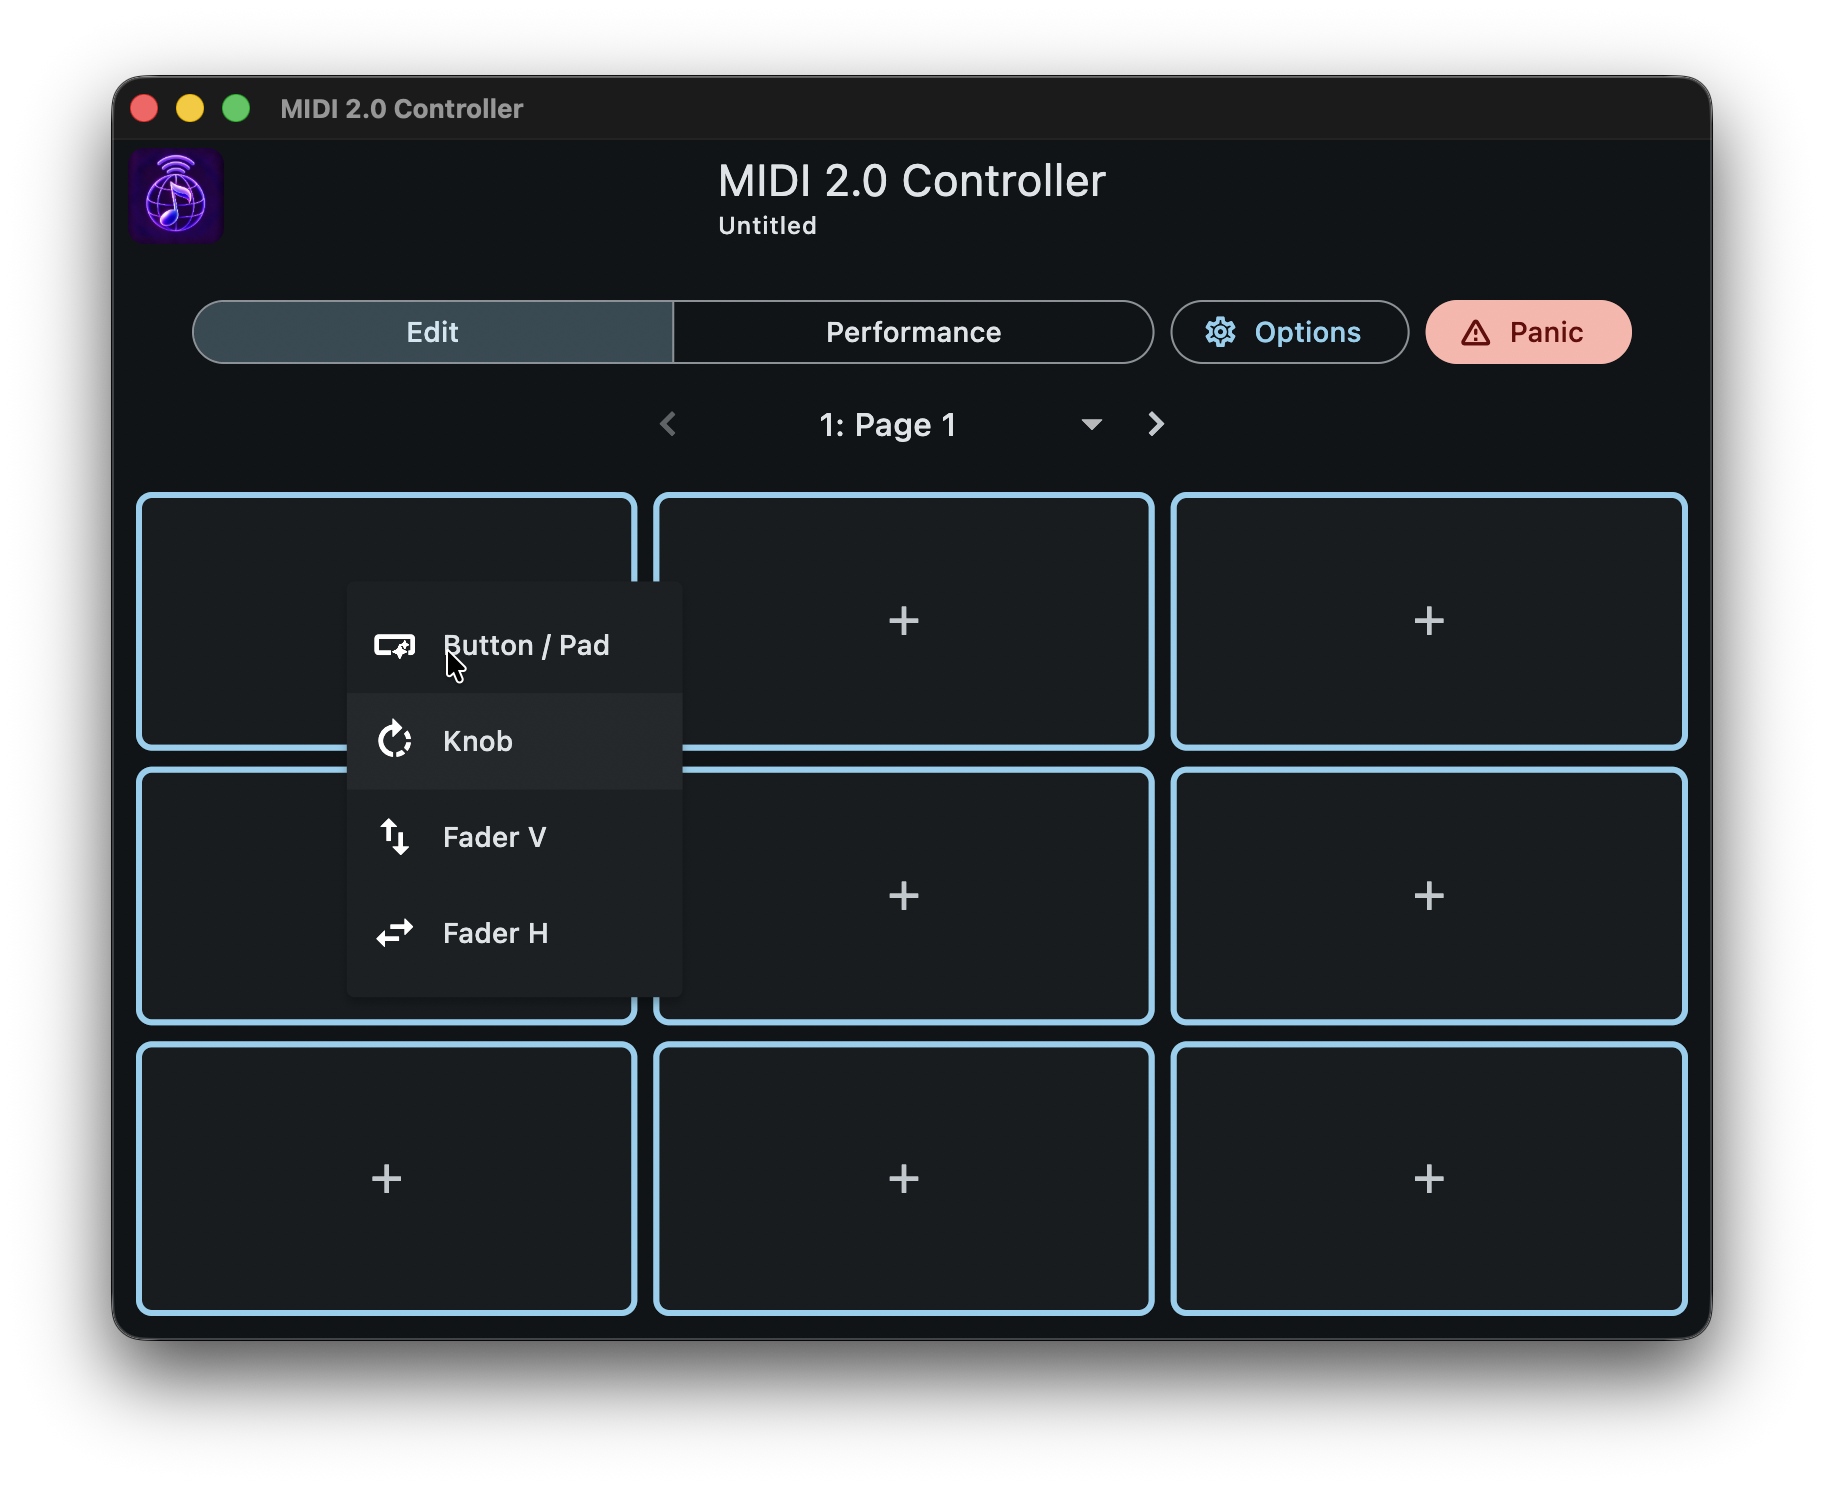
The app includes Button / Pad, Knob, vertical Fader, and horizontal Fader controls. In Edit mode, each grid slot is ready to be populated; in Performance mode, the completed layout is kept clear and ready to play.
1. Build a control surface
- Stay in Edit mode and select a vacant + slot.
- Choose the control that matches the gesture you want: Button / Pad, Knob, Fader V, or Fader H.
- Repeat across the 3 × 3 grid to build the page. Use the page controls to move between pages or select another page.
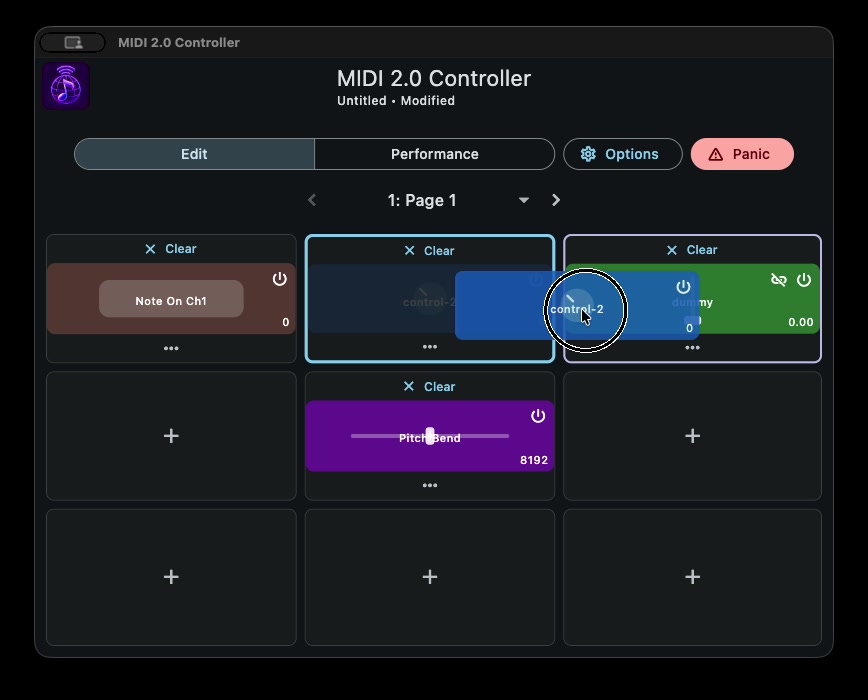
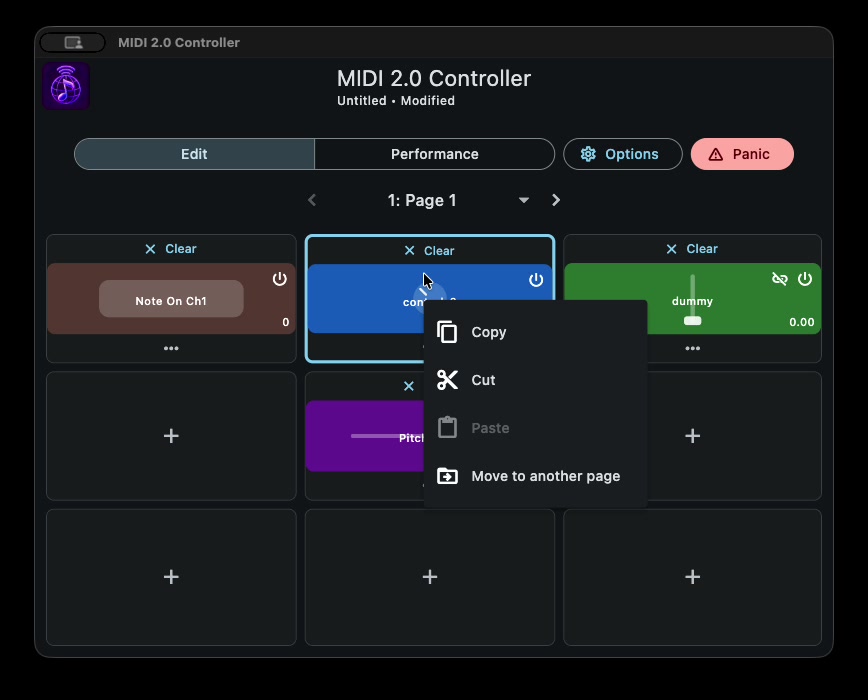
- Drag and drop a control onto another slot to rearrange the page as your layout evolves.
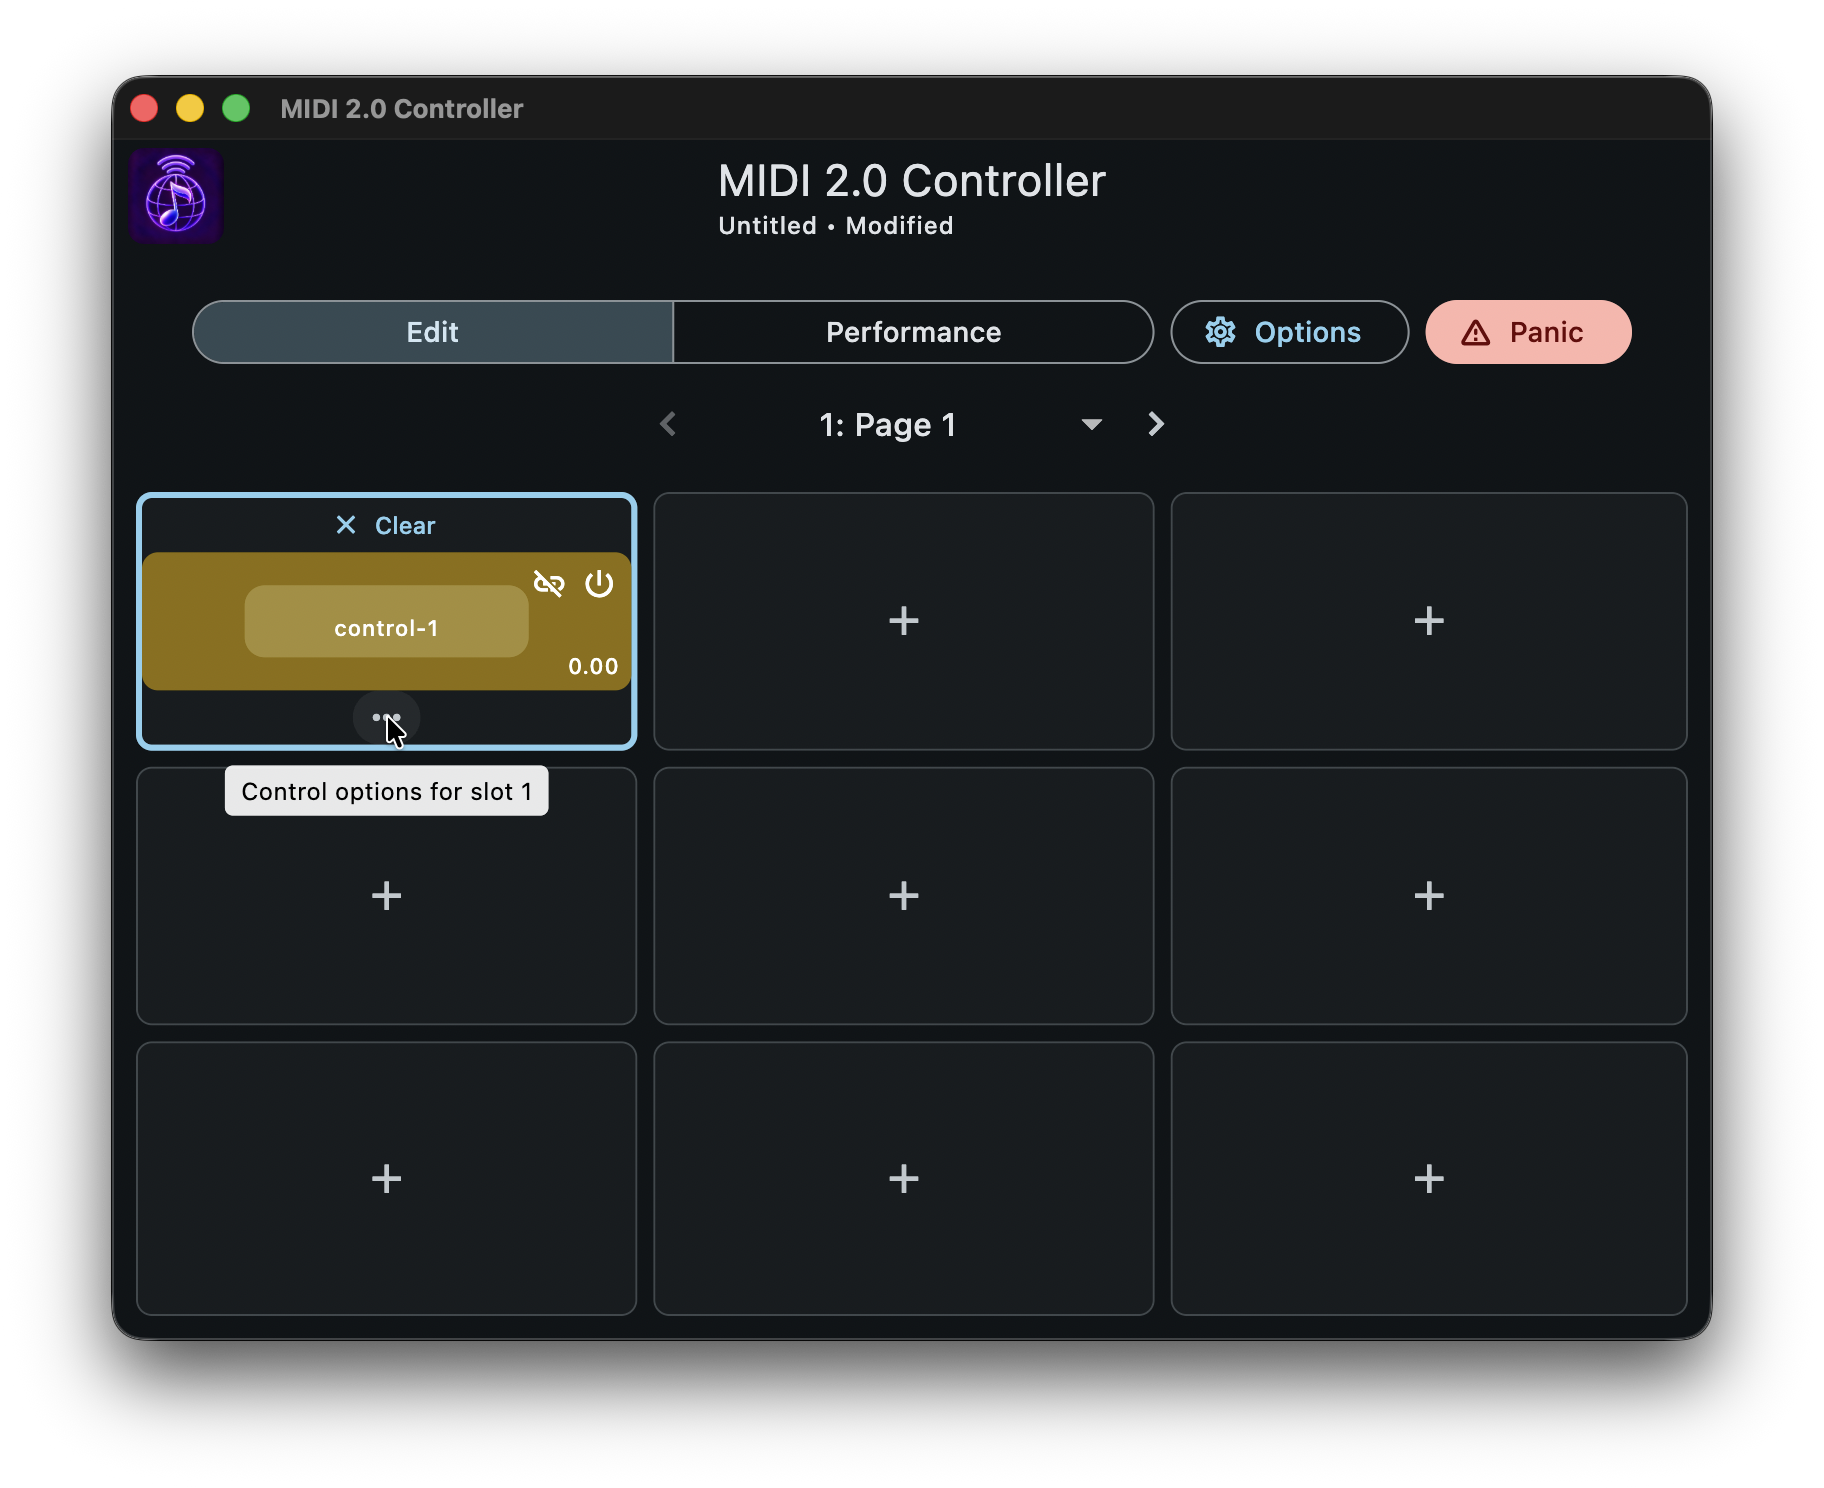
- Open a control's options from its … button whenever you want to refine it.
2. Configure each control
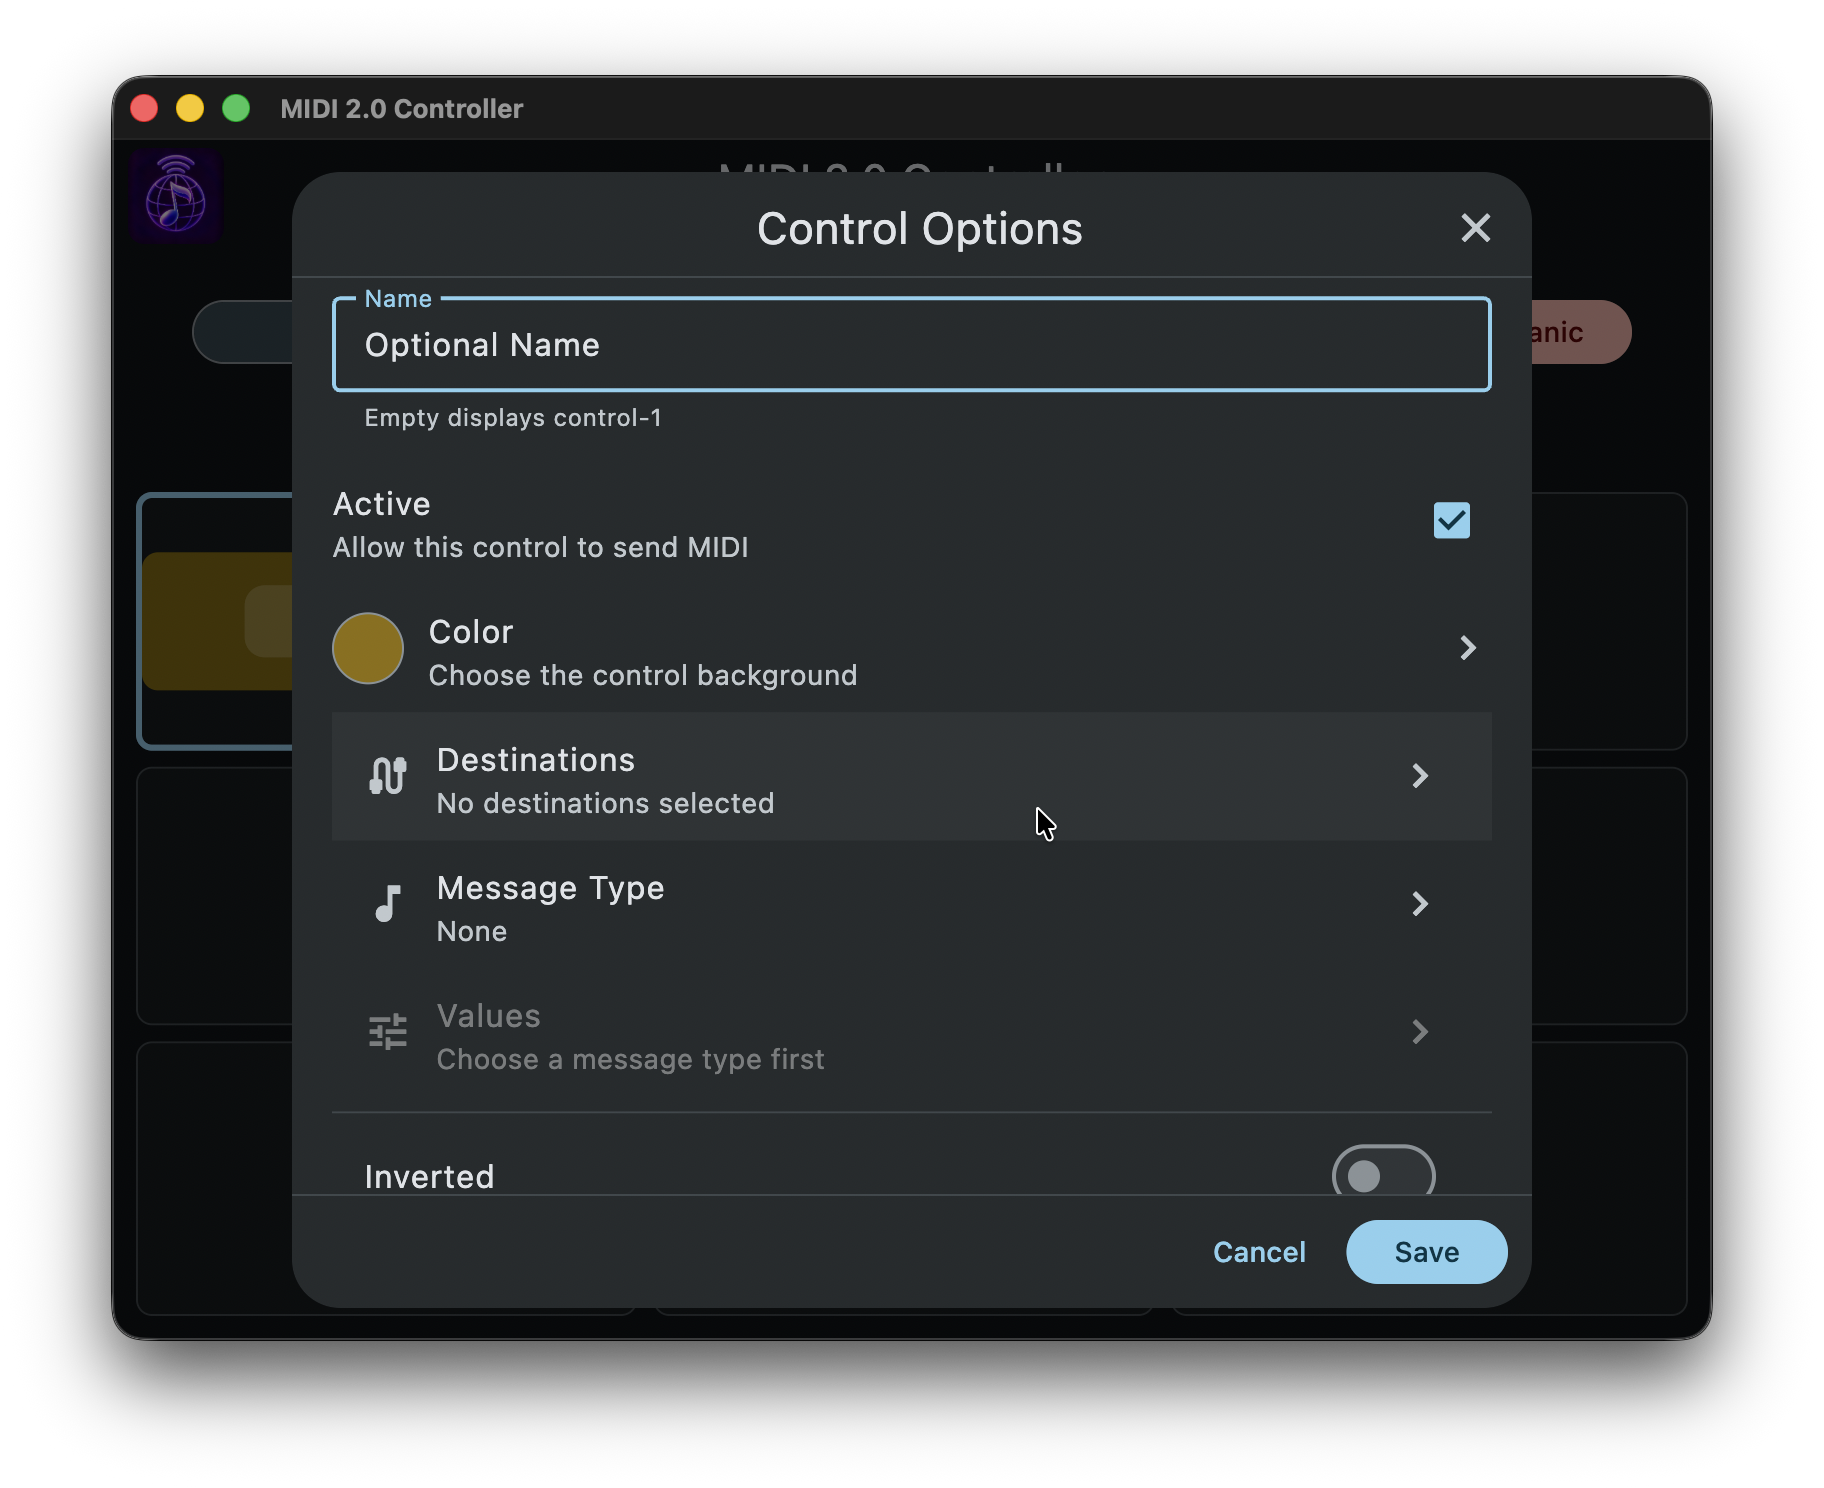
The Control Options panel lets you turn an empty element into a purposeful part of your setup:
- Name the control so its purpose is instantly recognisable.
- Keep it Active when it should send MIDI, or temporarily disable it without removing it.
- Choose a colour for fast visual identification.
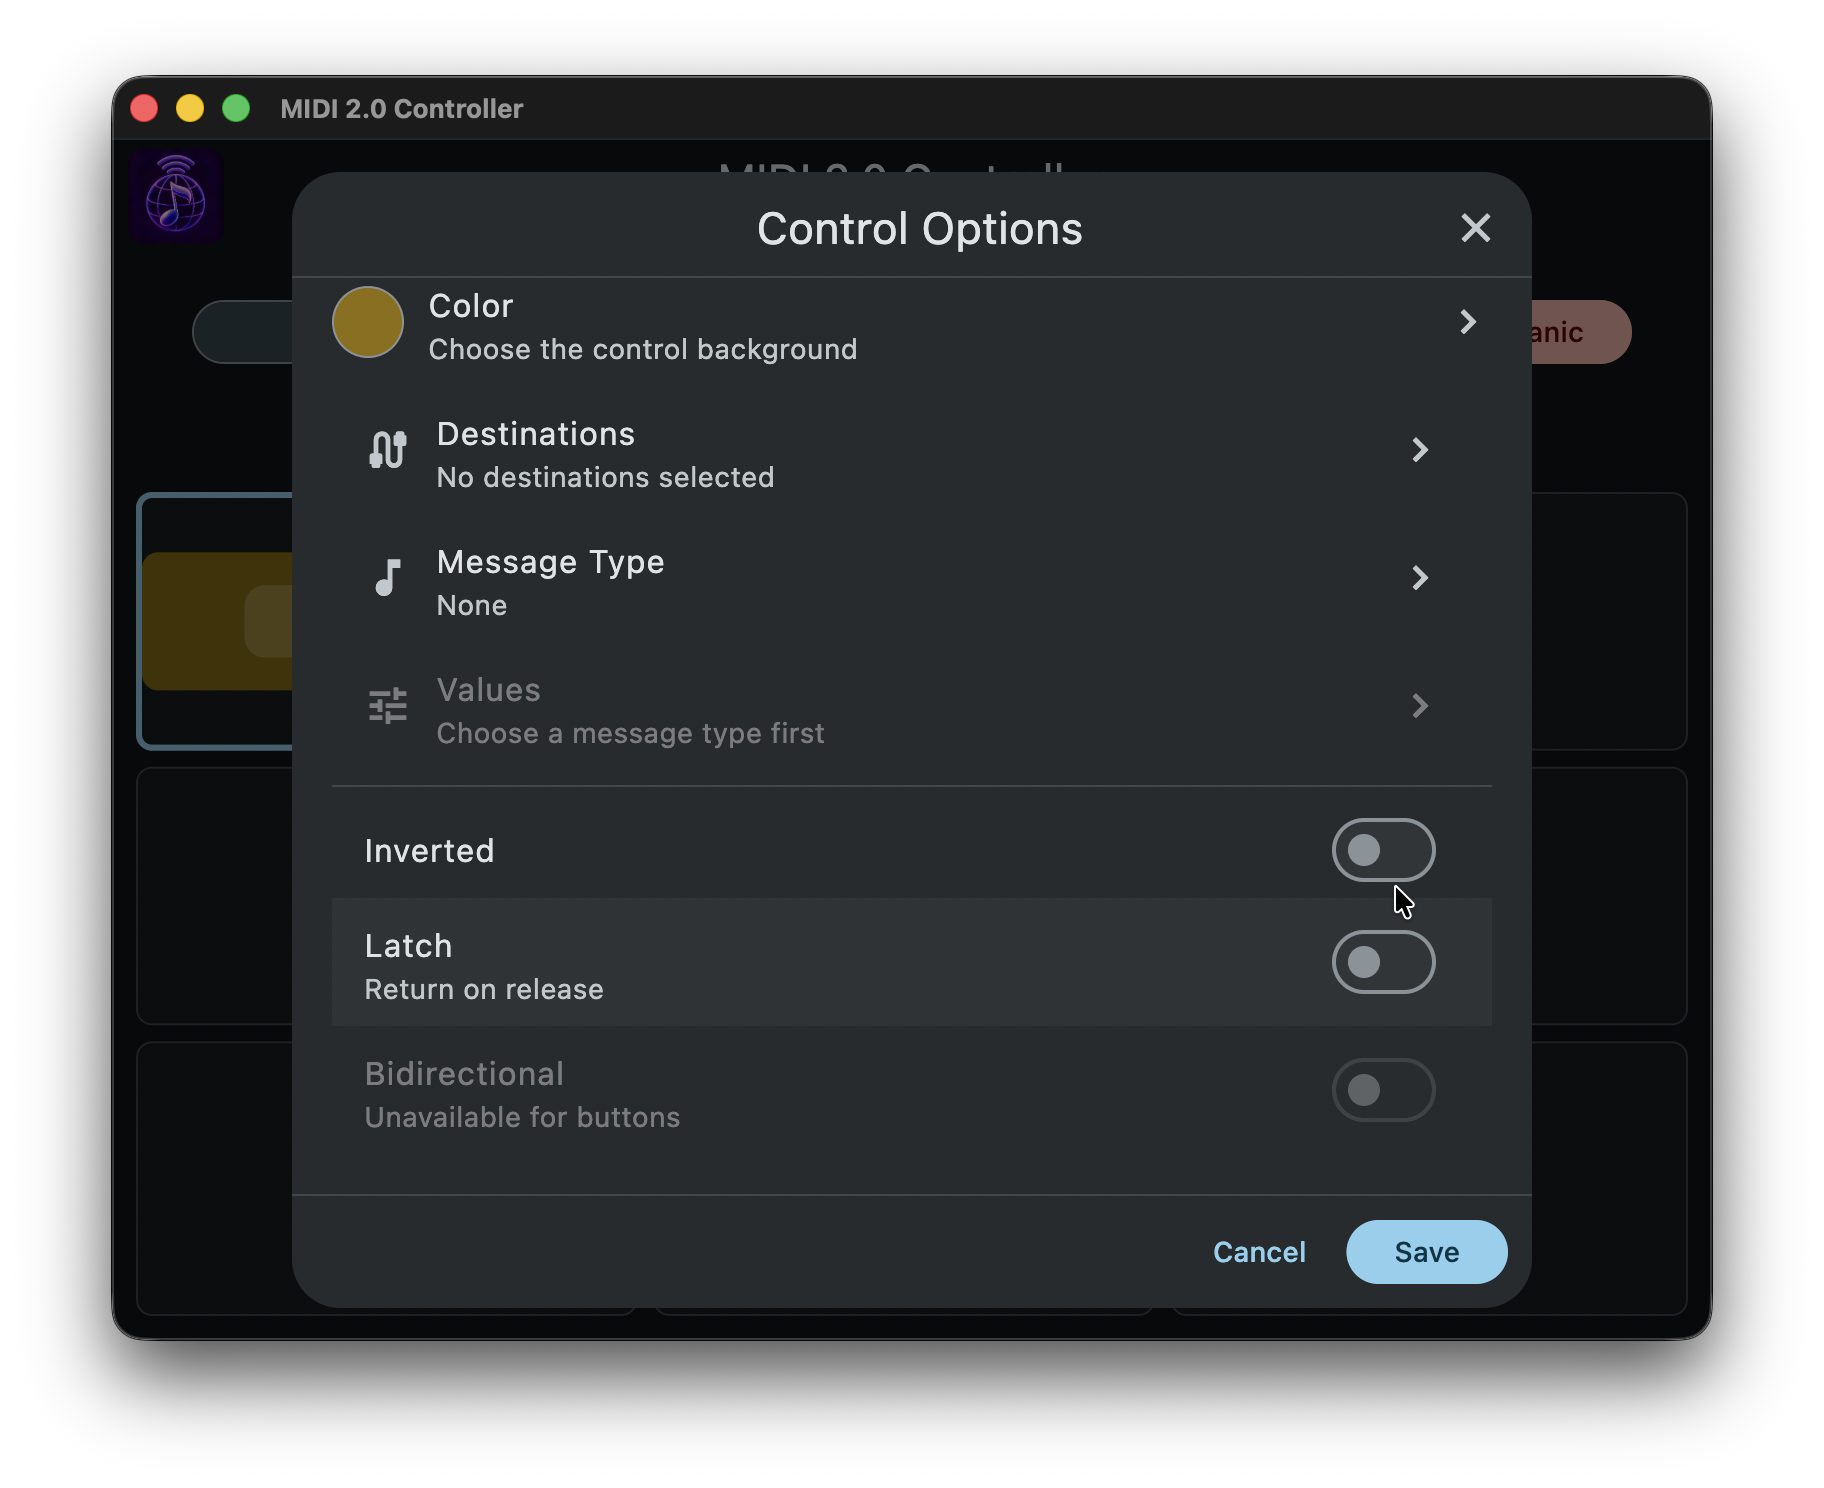
- Select its destinations, then choose the message type and values required by that destination.
- Where appropriate, adjust behaviour such as Inverted, Latch, or Bidirectional, then save the control.
For a reliable first test, configure one control and one destination, then confirm its response before building out the rest of the page.
3. Save and load scenes
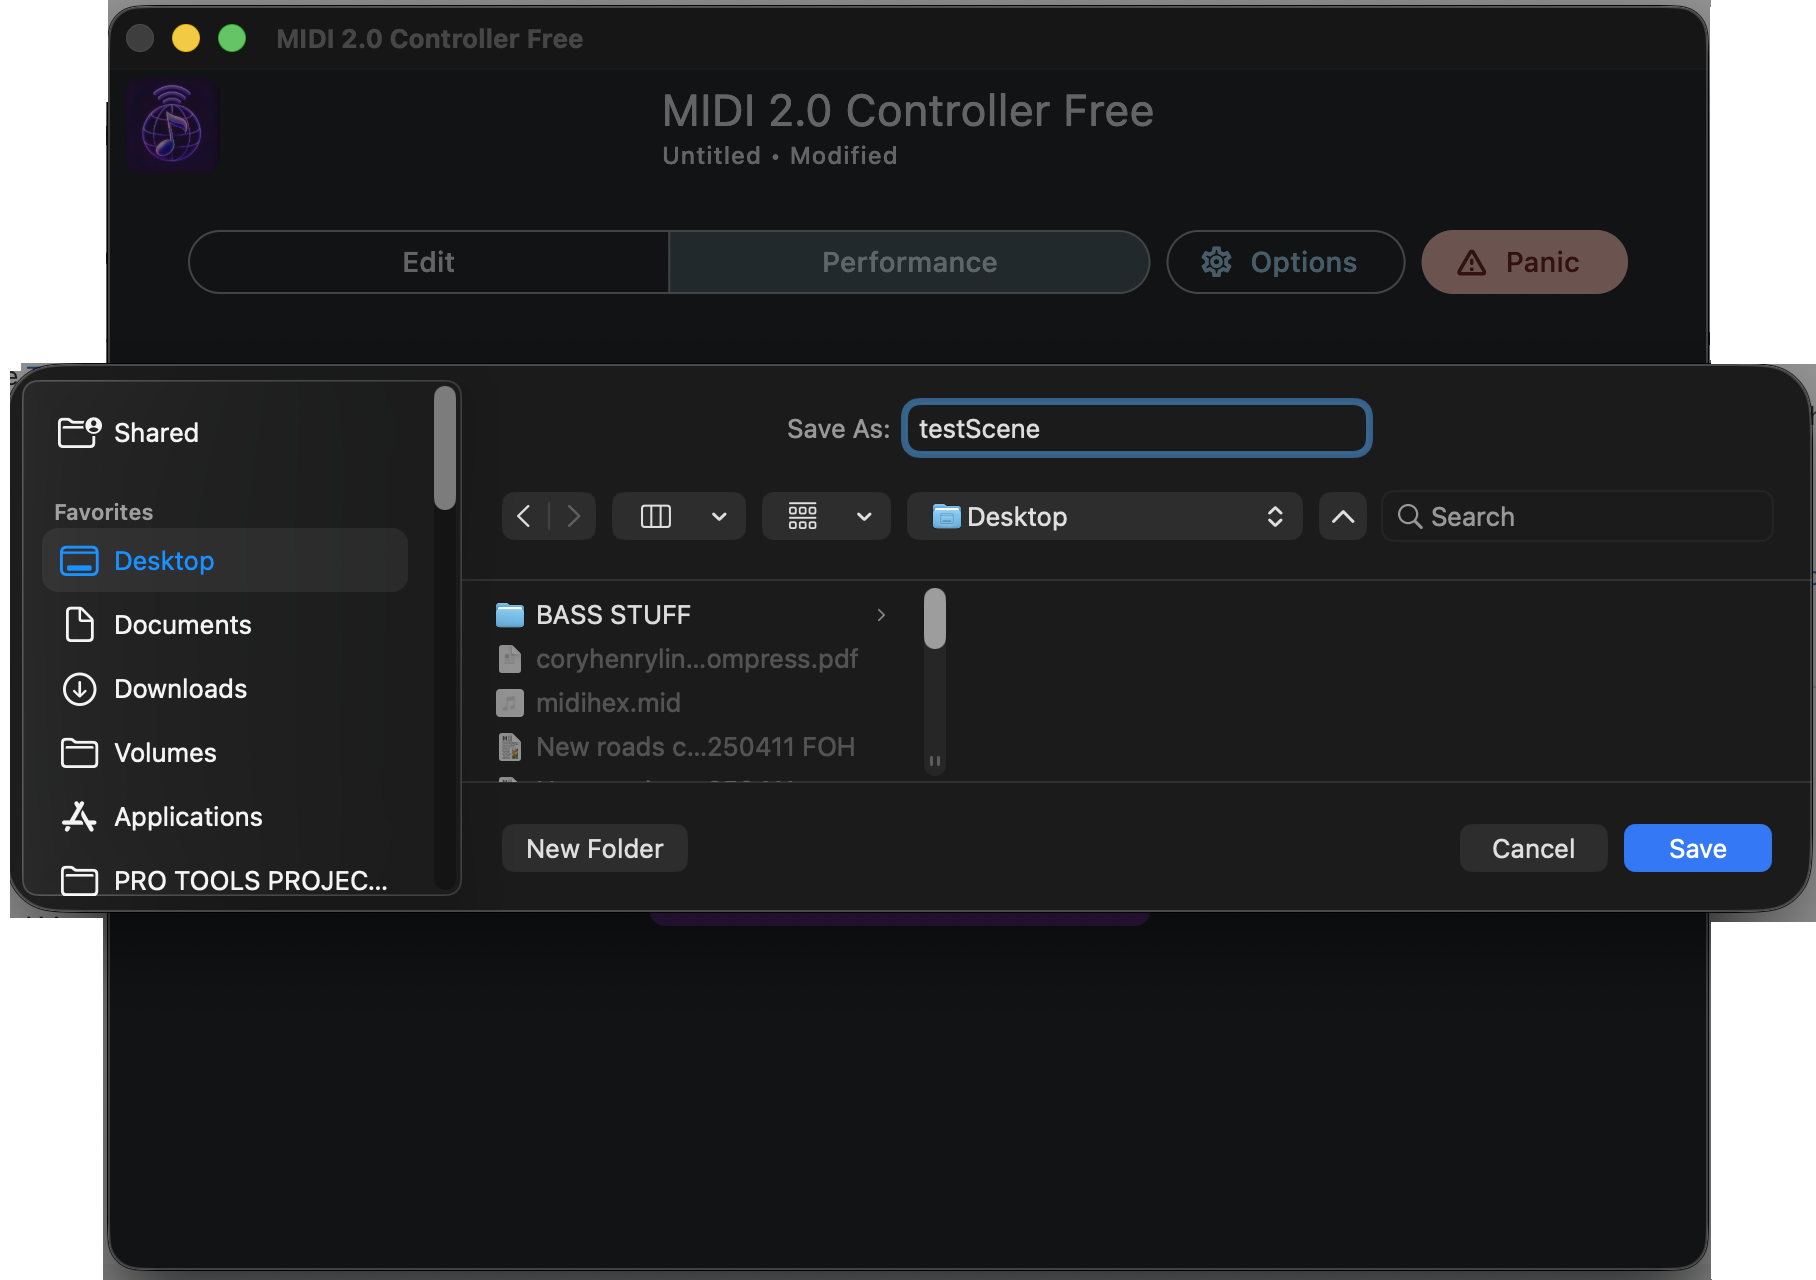
A scene captures your controller layout and saved control configuration in a reusable .json file. Save a scene before a performance, keep alternate layouts for different instruments or projects, and load the right setup when you need it.
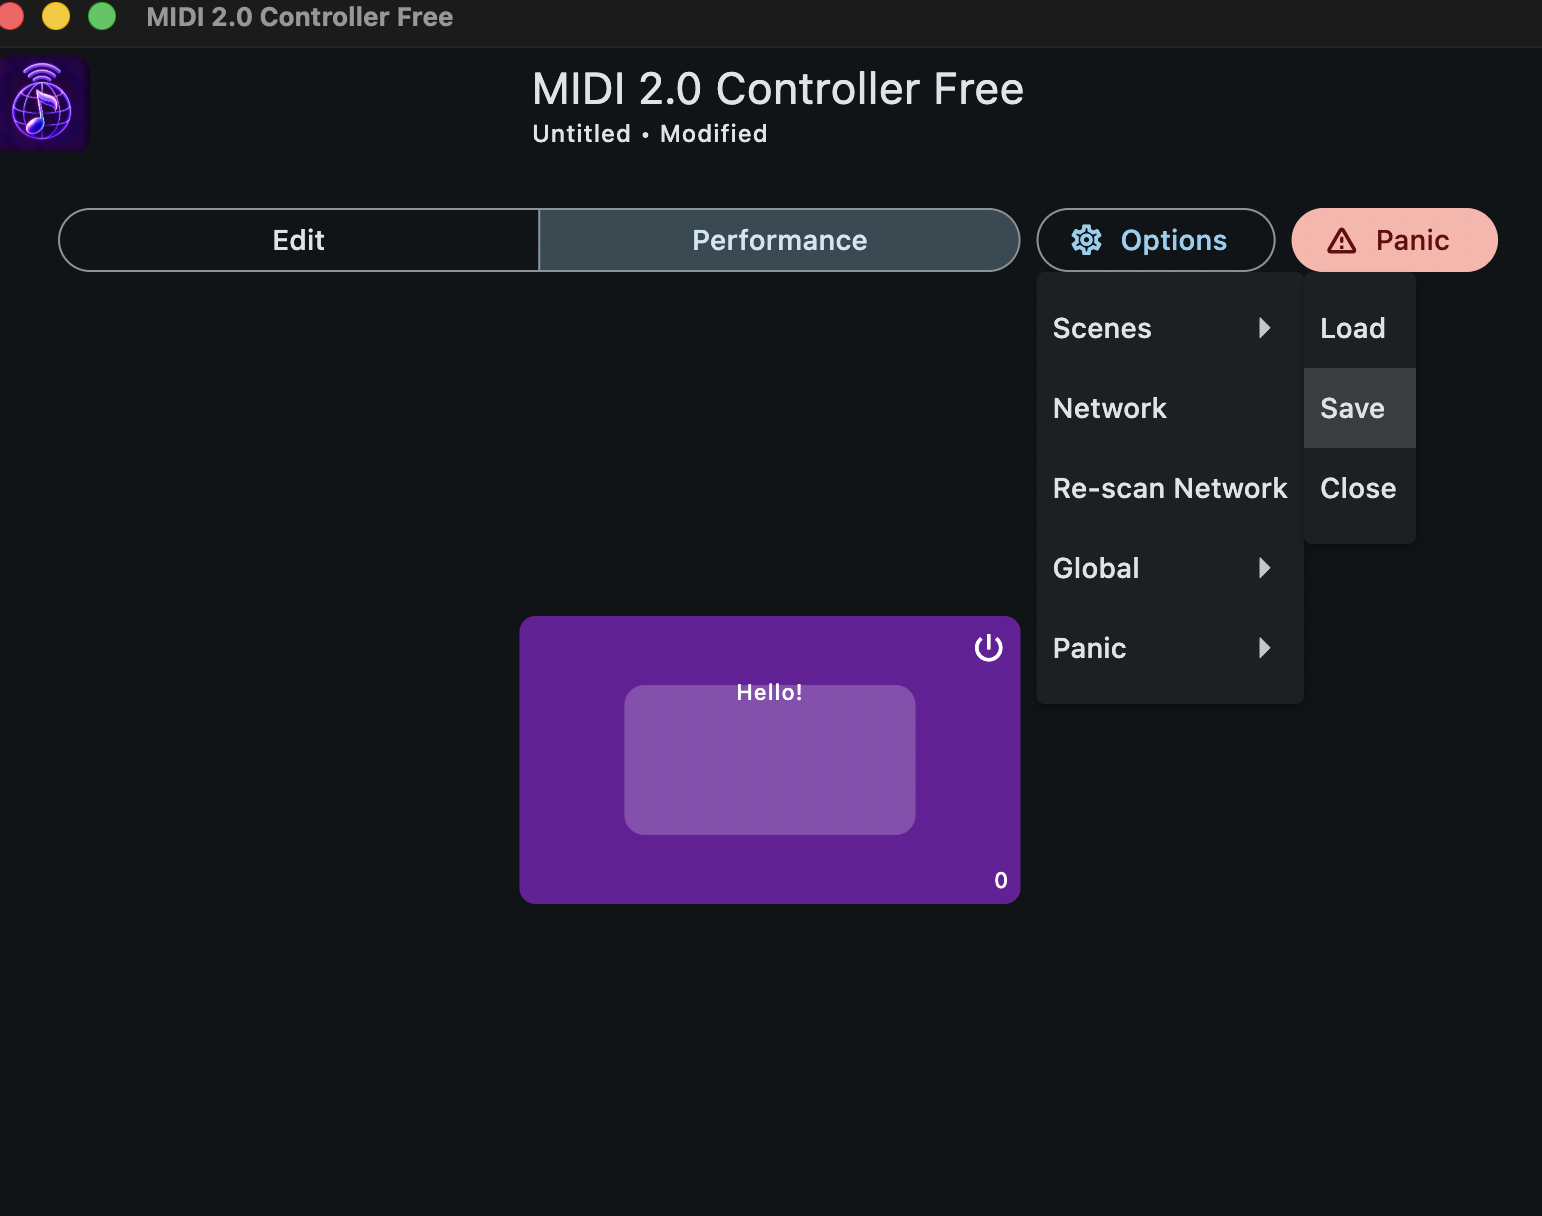
- Open Options, then choose Scenes.
- Select Save, give the scene a meaningful name, choose a location, and save the
.jsonfile. - To return to a setup, choose Scenes → Load, select its
.jsonfile, and open it.
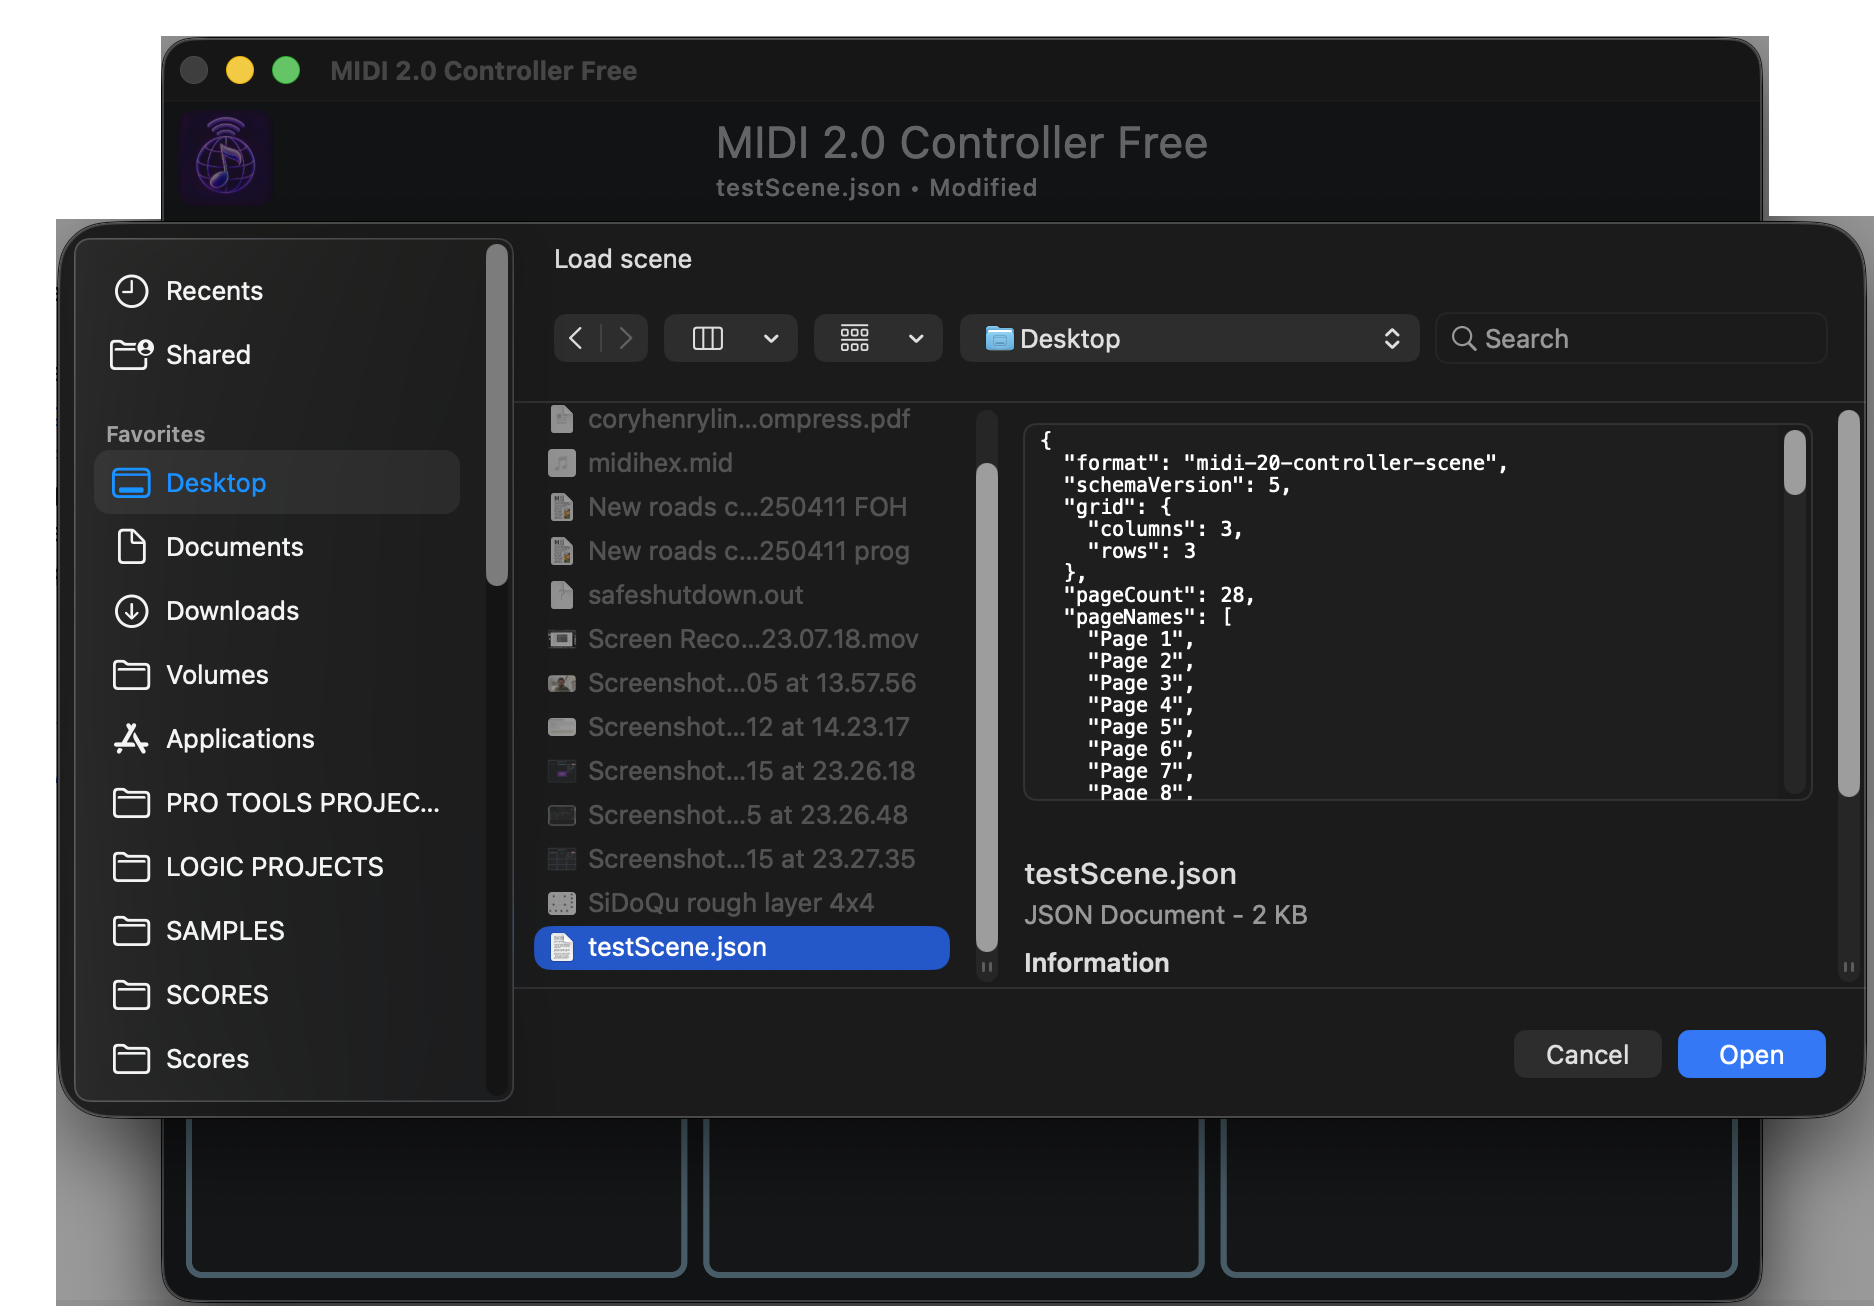
.json scene to restore its setup.4. Perform with confidence
When your page is ready, switch to Performance mode. Your controller surface is now ready for playing without the distraction of setup controls. The Panic button is always available for quickly silencing or resetting a performance situation.
Keep the controller and its MIDI 2.0 destinations connected to the same dependable Wi-Fi network. If a destination does not respond, check its power and network connection, then confirm that it is selected in the control's Destinations setting.
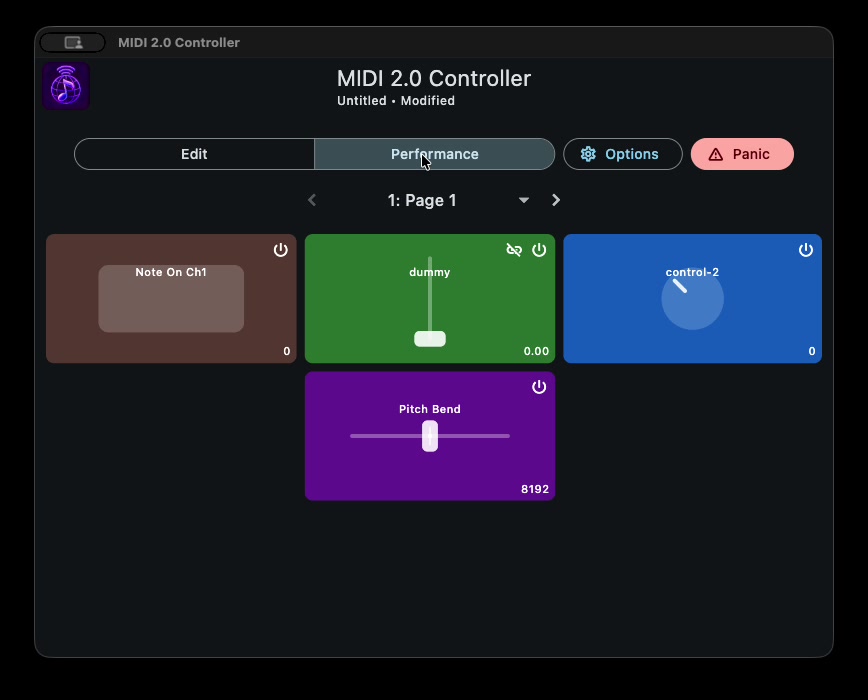
Long press the Page button to rename the page.